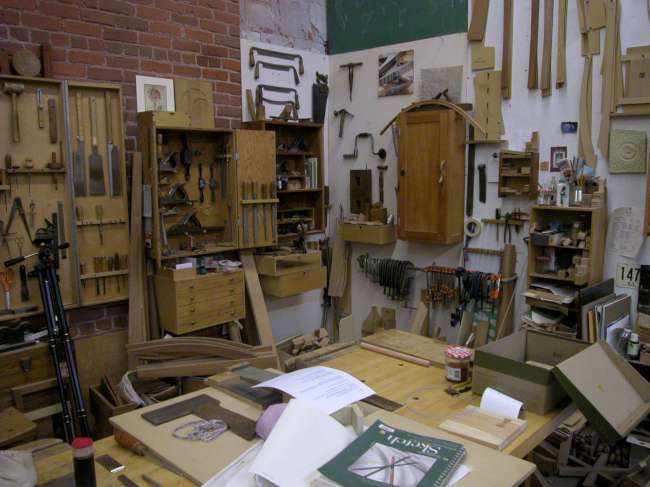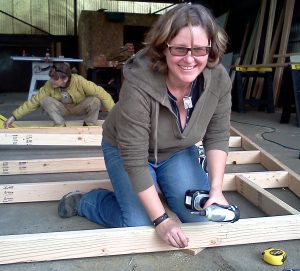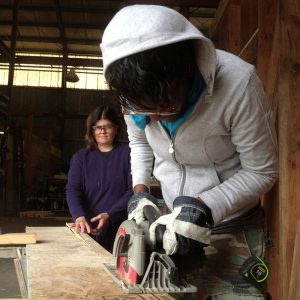
This guest post is by Gary Rogowski from the Northwest Woodworking Studio, who knows a thing about tools and how to teach others to use them. The Northwest Woodworking Studio is one of PAD’s Expert Partners, and they’re leading a hands-on tiny house construction workshop series this spring in Portland including Tiny House Framing on May 21-22 and Tiny House Doors and Windows on June 11-12.
If you’re new to construction and wondering where you’d even begin building a tiny house, start by meeting the tools you’ll need to get the job done. Building tiny requires a fair sized accumulation of tools. Here’s one list that can help you get started, whether it’s putting together your first chicken coop or finishing out your tiny house.
1. Tape Measure and Pencil
Well that’s two, actually, but you need to be able to measure accurately and then mark out what you measured. So get a good fat carpenter’s pencil for big bold marks and a #2 pencil for finer marks.
Tape measures can vary by one eighth of an inch between tapes! This is big. And this is the industry standard. So if you start a project with one tape measure, forget it, and then use another, it may not read the same at all. Tape measures also come in different lengths, and as they get longer, they will also get wider. Get at least a 3/4″ wide tape measure, usually a 16′ length or longer, so you can stretch it out over a span without it collapsing under its own weight.
2. Speed Square

The square is essential to building in a Euclidean world. They’re easy to carry, won’t change their shape (too much) if dropped from the roof, and they’re easy to hook onto a board to make a square or 45 degree angle mark.
3. Straight Line
A string pulled taut between two points can tell a story. It will help you line up posts in a shed, or you can put a line level on it to check for level. It’s easy to put in your tool tote and filled with potential to show you the shortest distance between two points.
4. Chalk Box
A chalk box is used like a straight line, only it’s loaded up with blue or red chalk to mark out lines for cuts on plywood or for cutting a straight edge on a rough-edged board.
5. Level
A good level is essential to figure out slopes or places where you don’t want slope. Longer is great, but at least a 24″ long level is a requirement on a job site.
6. Utility Knife
Instead of a pencil for marking, you could also use a utility knife. These little gems are handy for sharpening pencils, slicing off caulk tube tips, cutting tar paper, and a thousand other jobs. Make sure it’s retractable – this will keep your fingers intact when reaching around in your toolbox.
7. Quick-Grip Clamps

These one-handed clamps are so great because you only need one hand to work them. With one hand holding up a piece, the other can move the clamp head along and cinch it in place. Once you get a pair, you’ll wonder how you ever worked without them.
8. Circular Saw
A good circular saw will save your shoulder hours of treatment at the chiropractor’s office. Get a good carbide-tipped blade, and keep the trashy blade that comes with it for cutting up dirty plywood or the like. Be sure to put your hands on the saw you want before buying. The heft, the weight and balance, will be things you appreciate more as time goes by and your work with the saw goes on.
9. Extension Cord
Yes, you can buy a cordless saw, but you need power for lots of cuts. Get a good long extension cord. You’ll have it forever. It can power your saw, your portable table saw, and most importantly, your radio.
10. Cordless Drill
Cordless drills revolutionized the work space with their portability. Now there are fewer cords to trip over since you can put your circular saw in one spot. Easy to use, powerful and versatile, you can carry bits on it or clip the drill to your belt. If you drive a lot of screws, get the hammer drill for more torque. They’re absolutely indispensable on the job site.
Those ten tools are just the beginning, but there’s lots more to talk about tools and how to safely use them. Join us May 21-22 at The Northwest Woodworking Studio for Building Tiny: Framing Your Tiny House and June 11-12 for Building Tiny: Doors and Windows for expert instruction in tiny house construction so you can build your house safe and smart this summer.
